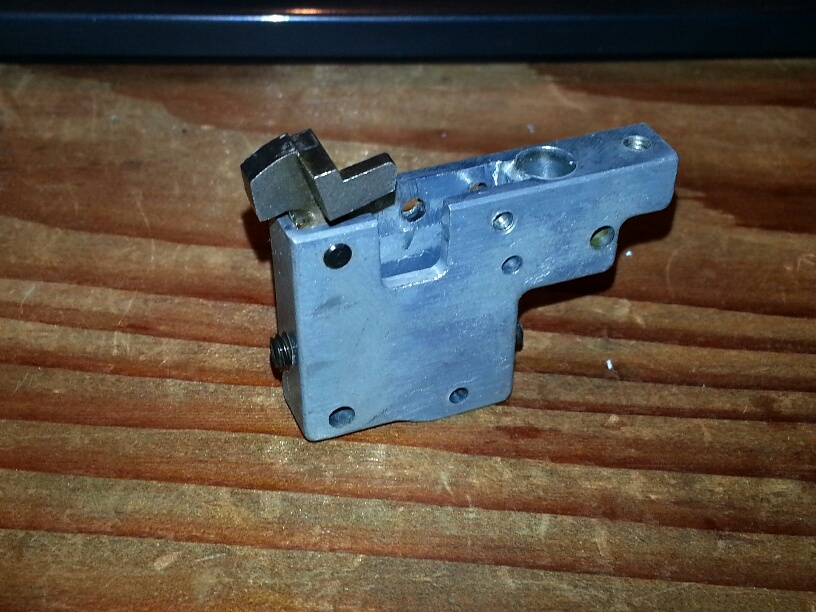
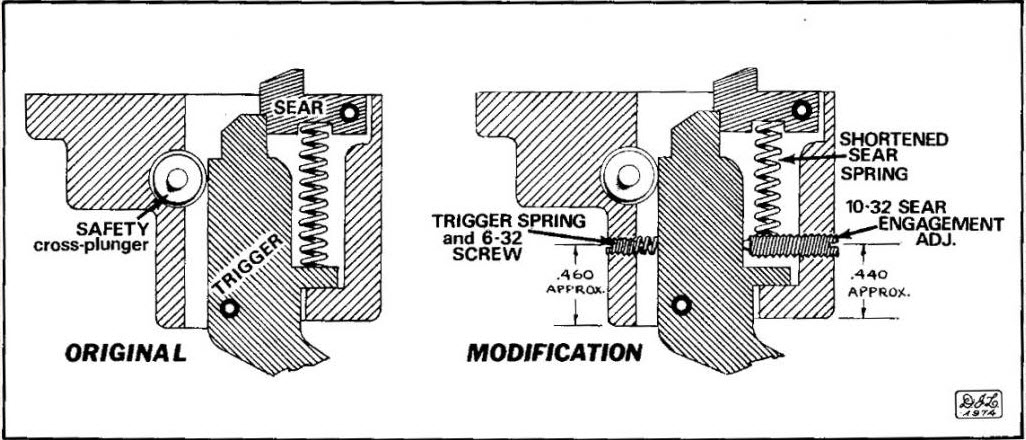
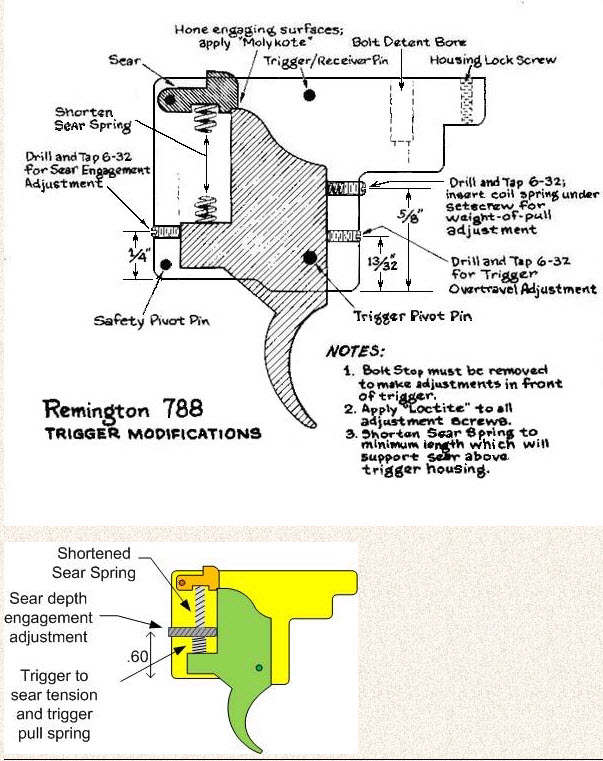
I looked at the diagram of the 541/580 trigger and decided to disassemble my trigger and drill it for two 8-32 screws. One from the rear to adjust sear engagement, and one from the front to adjust overtravel. This leaves the trigger pull to the only spring in the mix. The previous article recommends purchase of a new spring, which I have done, but the part has not arrived yet. However the two adjustments work well. The measurement from the bottom of the trigger housing is .4 in the rear, and should be .285 in the front. I did mine at .3 and installation of the screw is hindered by the bolt release mechanism. Since trigger housings may vary with rifle age... be careful to measure and make your final decision based on your situation.
Use nylock set screws for the work so as to prevent any creeping. There is a sear engagement sight hole in the housing. Be sure to operate the safety, slam the bolt into fire position, and bump the butstock on the floor to be sure your engagement is adequate for safety purposes. I had to cut 5 turns off the spring to get the height back to normal.
You may contact me at 252 503-0923 with questions.
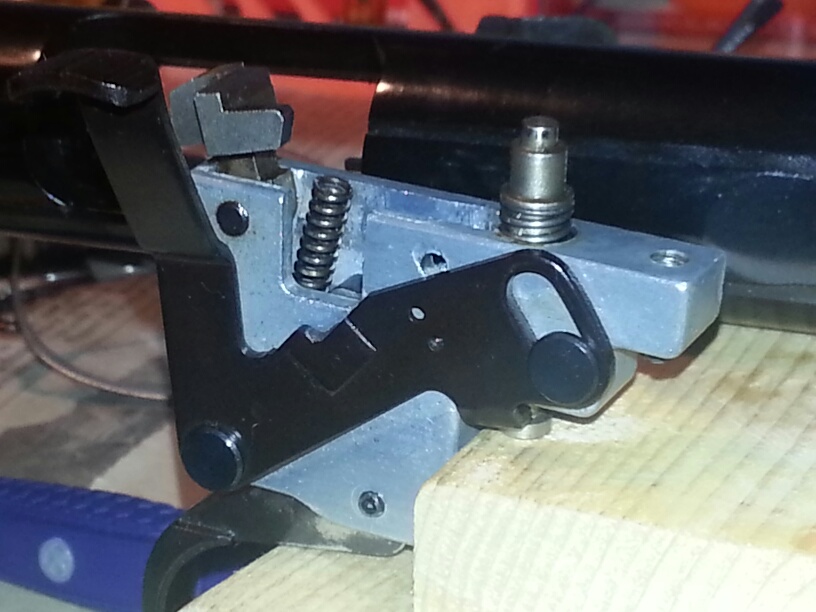
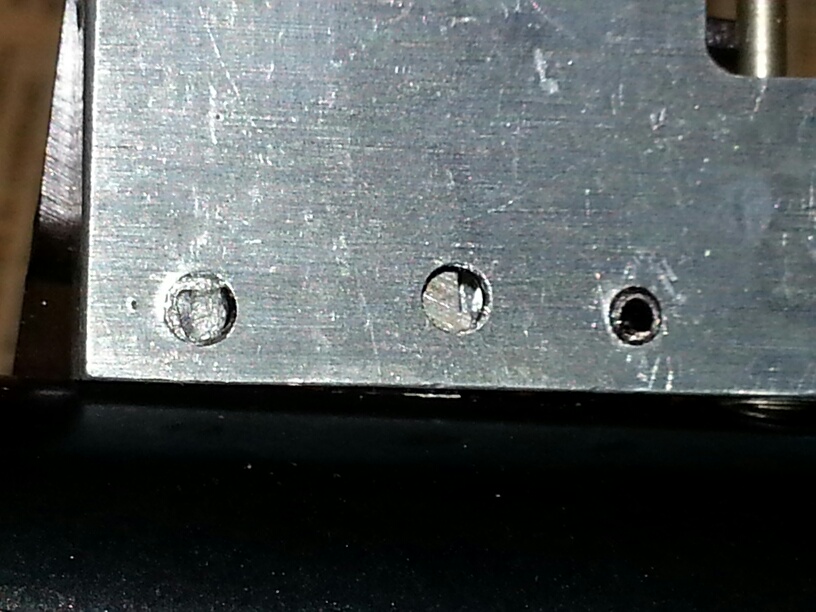
Trigger housing drilled and tapped to accept allen head adjustment screws
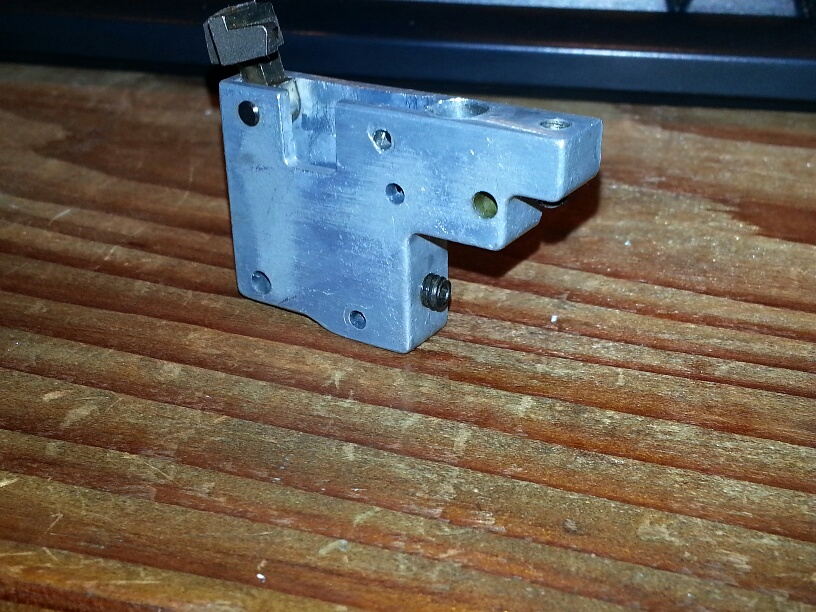
The screw hole below... in front of the "Safety" should have been a bit further away... .020 or so
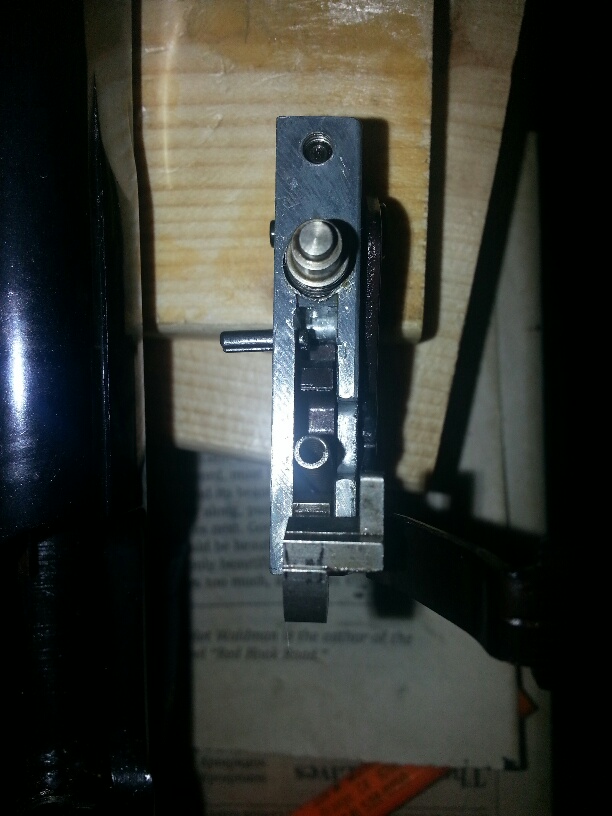
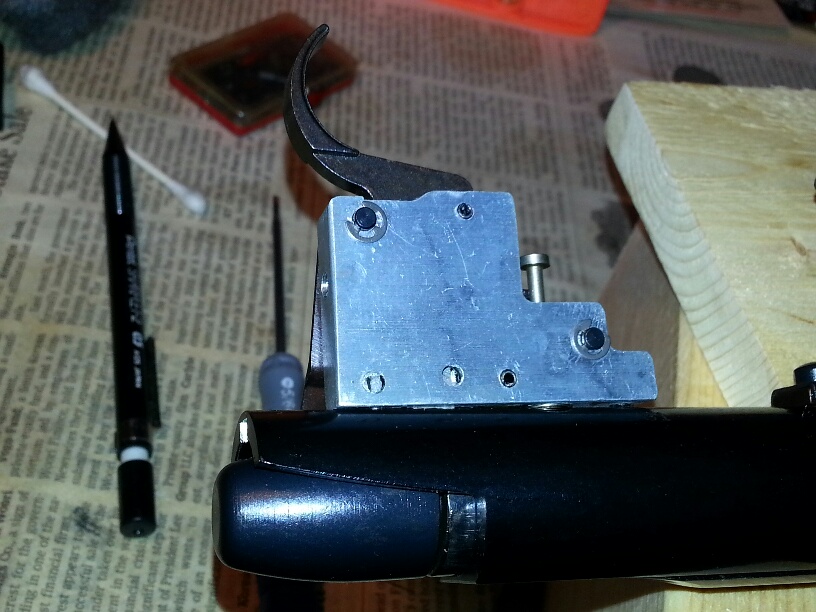
Sear engagement shown in inspection hole below center
My trigger housing looks different from the one used below... mine had no cross safety.
MikeK3500 did a great job on Rimfire Central of showing "how to" mod your stock trigger. Beats my photos...
I've bought several triggers for my Remington 788's some Canjar and a Timney for the last 788 I acquired.
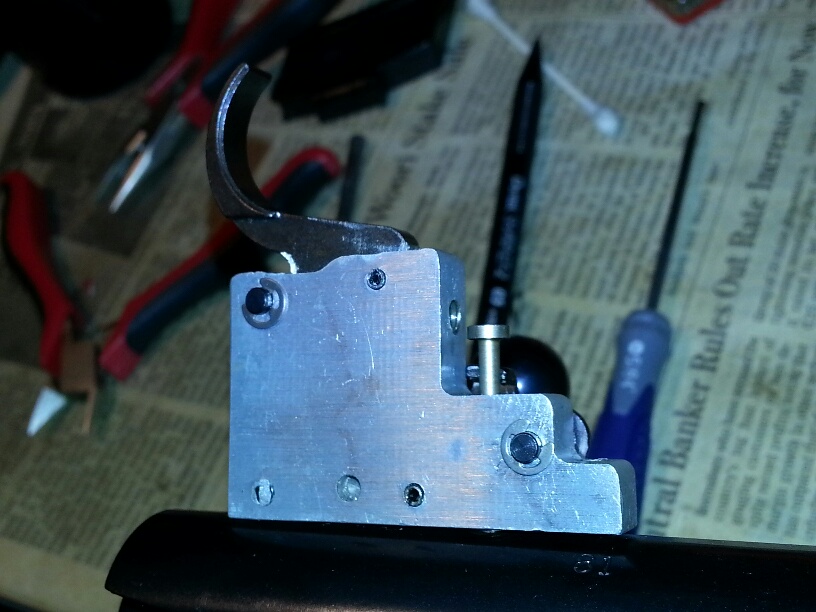
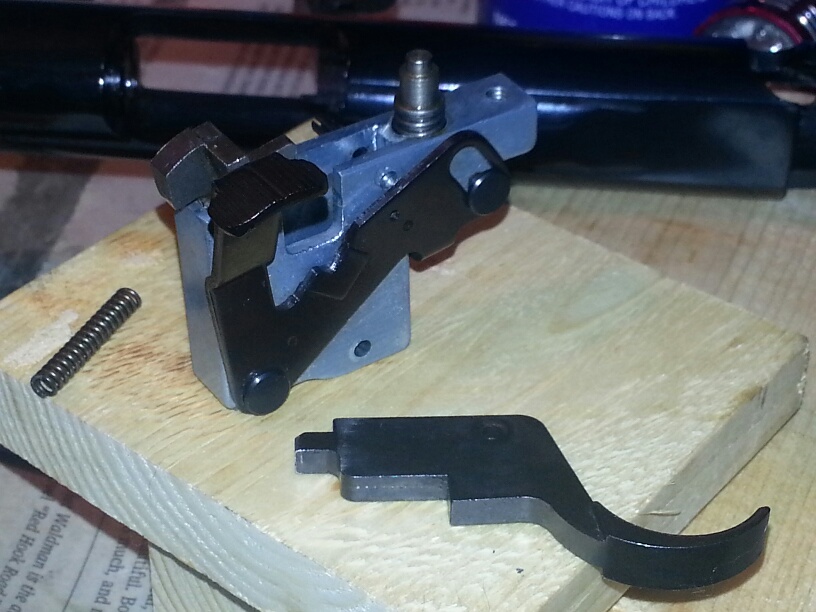
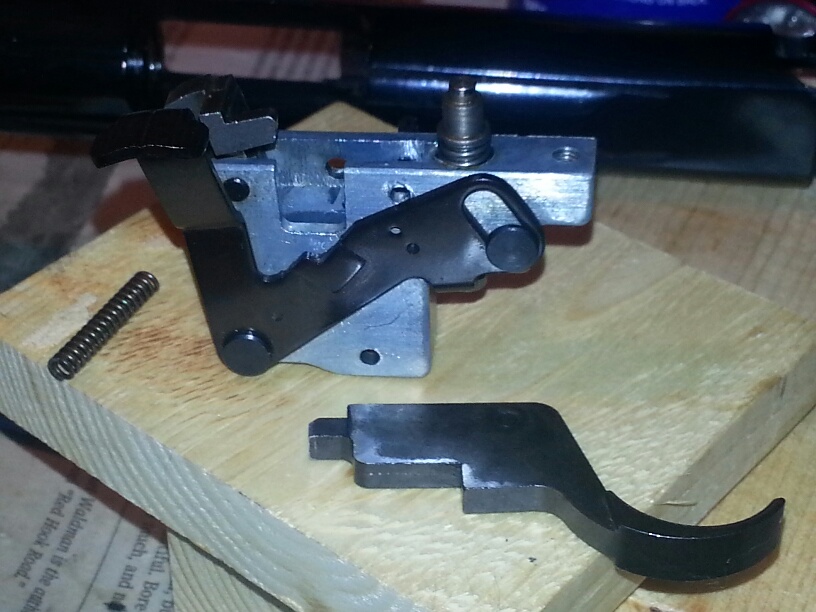
Complete dissassembly and reassembly of trigger shown below